Sprite Sheets 101: Turning a Folder of Frames Into Something Your Engine Can Actually Use
You've got a folder of frames. Maybe you rendered them in Blender, maybe you exported a hand-drawn run cycle, maybe you pulled them out of an AI-generated clip. Either way, they're sitting there as frame_0001.png through frame_0024.png, and your engine wants something tidier. This is the part nobody warns you about: getting from a pile of images to a clean, animatable sprite that doesn't jitter, doesn't foot-slide, and doesn't eat your texture memory.
It's not hard. But there are about five specific things that go wrong, and they go wrong the same way for everyone. Let's walk through them in the order they bite you.
What a sprite sheet actually is
A sprite sheet (sometimes called a texture atlas, though that term usually implies tighter packing) is one image holding many frames, arranged so your engine can read each frame by coordinates. Instead of loading 24 separate PNGs, you load one and tell the engine "frame 3 is the rectangle at x=192, y=0, width 64, height 64."
Why bother? Two reasons that have held up for decades. First, draw calls: switching textures mid-render is expensive, so keeping a character's whole animation on one texture lets the GPU batch everything. Second, it's just easier to manage one file than forty. On mobile and web especially, the draw-call savings are real and measurable.
There are two ways frames get packed. Grid layout puts every frame in an identical cell, like graph paper. Atlas (free) packing crams frames in wherever they fit and stores a separate data file mapping names to rectangles. For character animation, grid is almost always what you want, because engines slice it automatically and your frames stay in playback order. Save atlas packing for static UI elements and props where you're optimizing space.
Consistent frame size, or everything breaks
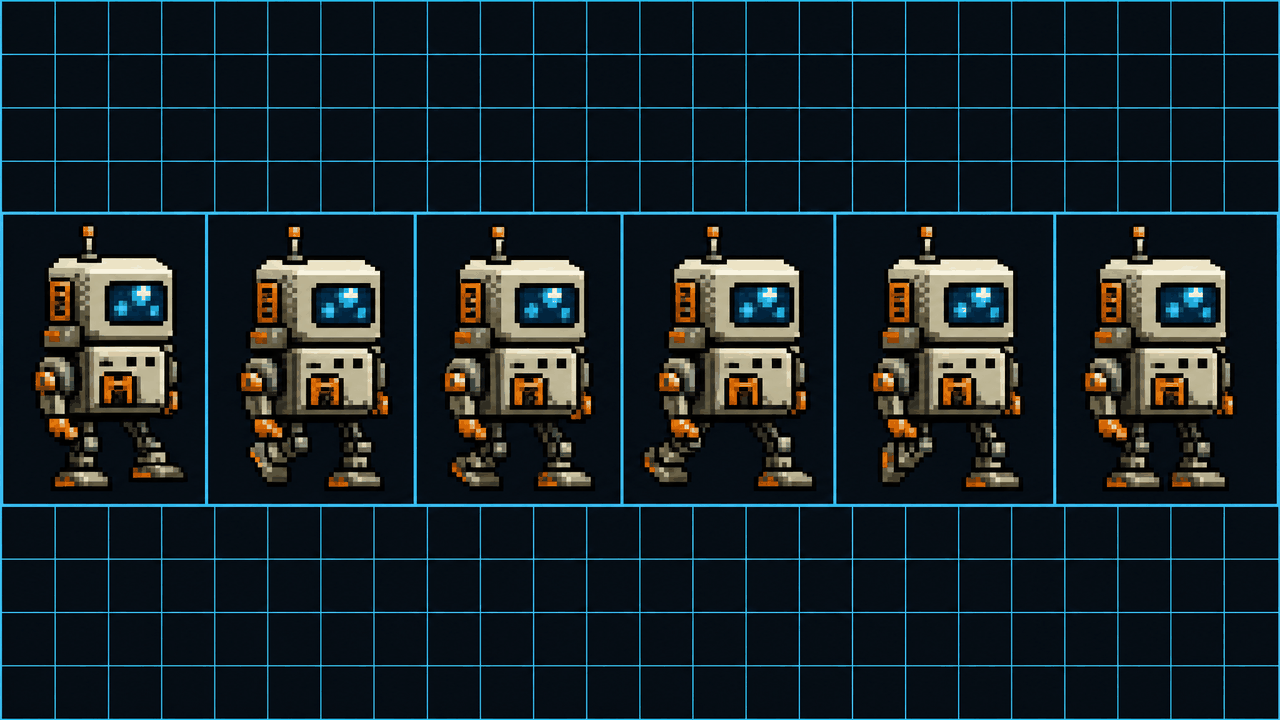
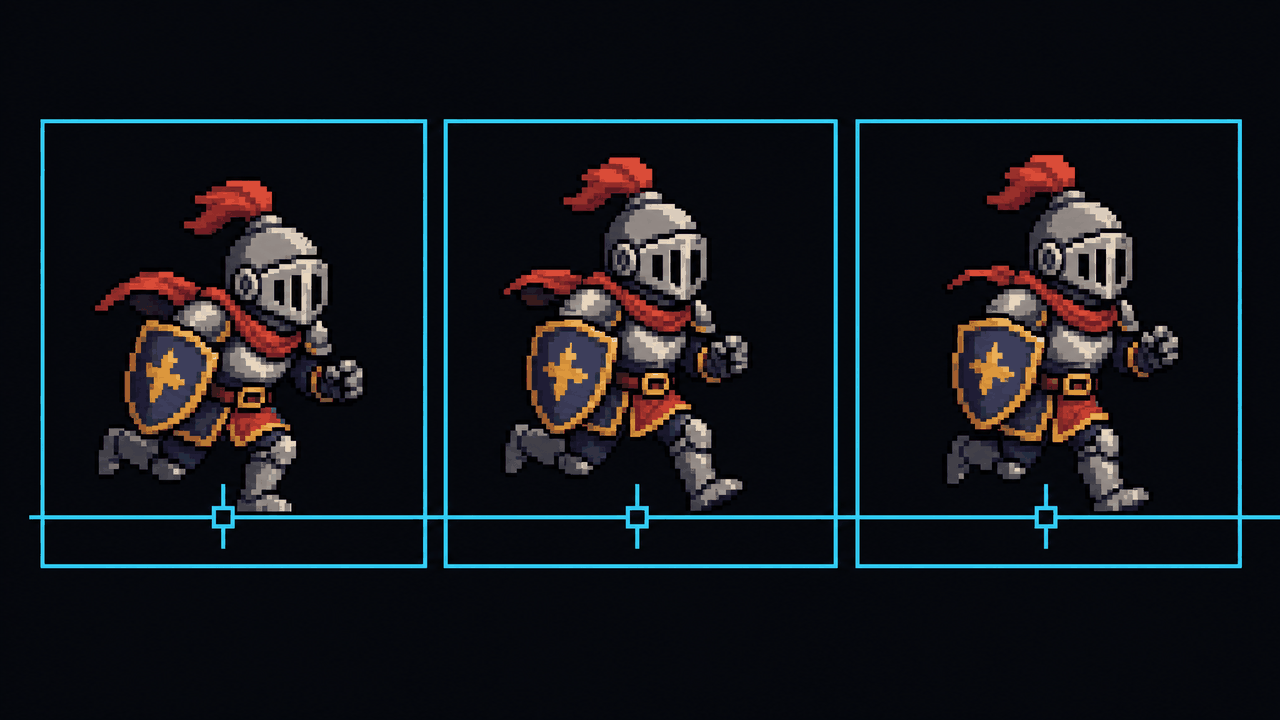
This is the rule that matters most: every cell in a grid sheet must be the same size. If your idle frames are 48x64 and your attack frames are 72x80, the slicer will cut them on the wrong boundaries and you'll get half a sword in one cell and an empty gap in the next.
The fix is to pick one cell size big enough to contain your largest frame, then center every frame inside that box. If your character's widest pose (arms out, weapon swing) needs 80 pixels, every cell is 80 wide, even the frames where the character is only 40 pixels across. The extra space is transparent. Yes, it wastes a little room. No, it doesn't matter for animation correctness, and correctness wins.
A common mistake: rendering or exporting each frame cropped to its own content. Crop-per-frame feels efficient, but it destroys the spatial relationship between frames. The character's feet end up at a different Y position in every cell, and now it bobs up and down when it should be standing still. Render to a fixed canvas, or pad to a fixed canvas afterward. Don't crop individually.
Trim the sheet, not the frames
That said, transparent padding around the whole sheet is fair game and worth removing. If every frame has 20 pixels of empty space on the left because your character is always on the right side of the canvas, you can shift the content and shrink the sheet. The key distinction: trim uniformly across all frames so their relative alignment is preserved. Trim the dead margin that's identical in every frame; never trim each frame to its own bounding box if you care about smooth motion.
If you're working from a tool that bakes a video into frames, do the loop selection and framing before you ever get to slicing. I built the Sprite Frame Extractor partly for this reason: it lets you pick the exact loop range and an FPS basis up front, so the frames land at a consistent size and count, and the sheet you build from them is already clean. Garbage frames in, garbage sheet out.
Pivot and bottom alignment: the foot-slide killer
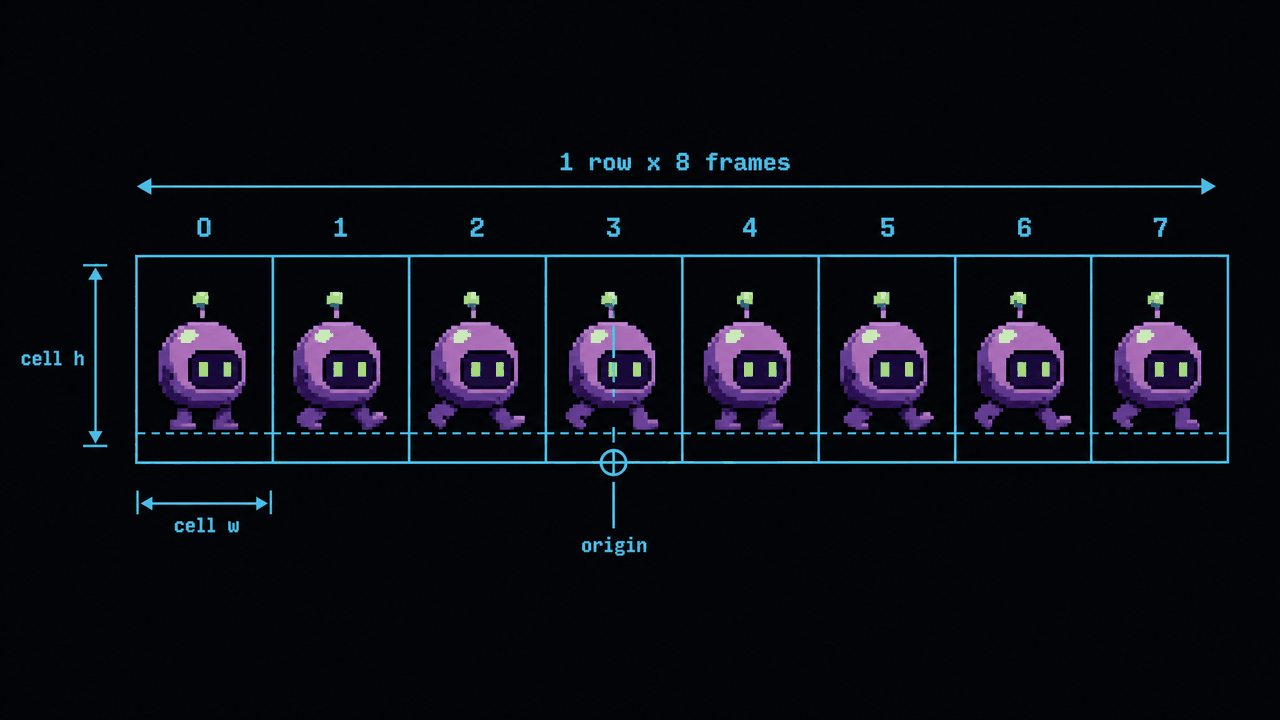
Here's the one that ruins otherwise-perfect animations. The pivot (or origin, or anchor) is the point the engine uses to position the sprite in the world. If your pivot is the center of the cell and your character's feet aren't always at the same height within that cell, the feet slide around as the animation plays. Walk cycles look like the character is moonwalking on ice.
For ground-standing characters, set the pivot to bottom-center: horizontally centered, vertically at the bottom of the cell where the feet plant. Then make sure your frames are aligned so the contact foot sits at that same baseline in every frame. Two halves of the same problem:
- Pivot placement — bottom-center for walkers, runners, idles. Center for projectiles, spinning pickups, explosions. Custom (like a hand position) for held weapons or muzzle flashes that attach to a bone.
- Frame alignment — the feet, or whatever the contact point is, must be at a consistent position relative to the pivot across the whole animation.
If you nail the consistent-cell-size rule above and render to a fixed canvas where the character stands on the same line, bottom-center pivot mostly just works. The foot-slide you see in beginner projects is almost always crop-per-frame plus a center pivot, stacking two mistakes.
Power-of-two sizes (and when to ignore them)
Old advice, still partly true: GPUs historically liked textures whose dimensions are powers of two — 256, 512, 1024, 2048. Non-power-of-two (NPOT) textures could break mipmapping, tiling, and compression, and on some old mobile GPUs they wouldn't render at all.
In 2026, most desktop and modern mobile hardware handles NPOT fine for sprites, and engines pad textures internally anyway. So you don't have to obsess. But there are still good reasons to aim for power-of-two sheet dimensions: GPU texture compression formats (think ASTC, ETC2, the old PVRTC) often require or strongly prefer POT, and a 1024x1024 sheet compresses to a fraction of its uncompressed size while a 1000x1000 one might not compress at all. Your individual frame cells don't need to be POT — 48x48 or 80x96 cells are fine. It's the overall sheet texture you want landing on or under a power-of-two boundary. Pack your frames so the total comes out to 512x512 or 1024x1024 and you'll keep memory low.
Importing into Unity, Godot, and GameMaker
Each engine slices grid sheets, but the menus and gotchas differ.
Unity
Set the texture's Sprite Mode to Multiple, open the Sprite Editor, and use Slice → Grid By Cell Size (give it your exact cell dimensions, like 64x64) rather than Grid By Cell Count, which is fussier about padding. For pixel art, set Filter Mode to Point (no filter), Compression to None, and turn off mip maps. Set Pixels Per Unit to your cell size so one sprite equals one world unit if that's your convention. You can set a default pivot in the slice dialog (Bottom for ground characters) and override per-sprite in the editor. Then drag the sliced frames into the Animation window to build a clip.
Godot
Godot 4 gives you two main paths. For simple cases, drop the sheet on a Sprite2D, enable Region, and set Hframes/Vframes to your grid columns and rows; then animate the frame property. For real animation, use AnimatedSprite2D with a SpriteFrames resource — its editor has a "Add frames from a Sprite Sheet" button where you specify horizontal and vertical counts and select the cells you want. Set the texture's import preset to 2D Pixel (filter off, mipmaps off) for crisp pixel art. Godot handles offset via the node's position and the sprite's offset property; for bottom alignment, offset the texture up by half its height.
GameMaker
GameMaker is the friendliest here because sprites are first-class. When you import an image as a sprite, there's an option to load it as a strip — set the number of frames and it auto-slices a horizontal sheet into sub-images. Then set the origin in the sprite editor; there's a Bottom Center preset right in the dropdown, which is exactly what you want for platformer and top-down characters. Texture filtering is off by default, so pixel art stays sharp without extra fiddling. GameMaker prefers single-row strips, so export your sheet as one long horizontal row if you're targeting it specifically.
A quick sanity checklist before you ship the sheet
- Every cell is the same dimensions, and that dimension contains your largest frame with room to spare.
- Frames are rendered or padded to a fixed canvas — never cropped individually.
- The contact point (usually feet) sits at the same baseline in every frame.
- Pivot set to bottom-center for ground characters, center for free-floating objects.
- Overall sheet dimensions land on a power-of-two if you plan to compress the texture.
- Filtering off and mipmaps off for pixel art, in whichever engine.
Get those six right and your character will plant its feet, hold its proportions, and load fast. The tooling is genuinely easy once the frames going in are clean — which is why the real work is upstream, in how you generate and align the frames before they ever become a sheet. If your source is video, lock the loop and the frame size first; if your source is a render, render to a fixed canvas. The sheet is just the container. Whether you build it by hand, let a packer do it, or run it through a slicer, the discipline that makes it work is consistency, frame to frame to frame.
FAQ
Q. Should sprite sheet frames all be the same size?
For grid-based sheets, yes. Engines slice a grid by a fixed cell size, so if frames vary in size the cuts land in the wrong places. Pick a cell big enough for your largest pose and center every frame inside it with transparent padding. Atlas/free packing allows variable sizes, but then you need a data file mapping each frame, and you lose the automatic in-order slicing that character animation relies on.
Q. Why does my character slide its feet during a walk animation?
Almost always two stacked mistakes: frames cropped to their own bounding boxes (so the feet sit at a different height in each cell) plus a center pivot. Fix it by rendering or padding every frame to a fixed canvas where the feet land on the same baseline, then set the pivot to bottom-center. With consistent cells and a bottom pivot, the contact foot stays planted.
Q. Do sprite sheets still need to be power-of-two in 2026?
Not for rendering — modern desktop and mobile GPUs handle non-power-of-two textures fine for sprites. But GPU texture compression formats like ASTC and ETC2 often require or strongly prefer power-of-two dimensions, and a 1024x1024 sheet compresses dramatically better than a 1000x1000 one. Aim for POT overall sheet dimensions if you'll compress. Individual cell sizes (48x48, 80x96) don't need to be POT.
Q. How do I import a grid sprite sheet into Unity?
Set the texture's Sprite Mode to Multiple, open the Sprite Editor, and choose Slice by Grid By Cell Size with your exact cell dimensions. For pixel art, set Filter Mode to Point, Compression to None, and disable mip maps. Set the default pivot to Bottom for ground characters, then drag the sliced sprites into the Animation window to make a clip.
Q. What's the difference between a grid sprite sheet and a texture atlas?
A grid sheet puts every frame in an identical cell, like graph paper, so engines can slice it automatically and frames stay in playback order — ideal for character animation. A texture atlas (free packing) crams frames wherever they fit to save space and stores a separate data file mapping names to rectangles — better for static UI and props. Use grid for animations, atlas for space-optimizing unrelated images.